Commercial starter packets cost $15-30 each and expire quickly. Meanwhile, your kitchen already contains everything needed to culture vegetables, dairy, and grains naturally—often producing more robust flavors than store-bought cultures.
Why Wild Fermentation Beats Packet Starters
Wild fermentation harnesses naturally occurring microorganisms from your environment and ingredients. Unlike laboratory-isolated strains in commercial packets, wild cultures contain diverse bacterial and yeast communities that adapt to your specific conditions. The USDA's food safety guidelines recognize traditional fermentation methods as inherently safe when proper acidity levels are maintained.
This diversity creates more complex flavors and often more resilient ferments. A wild sauerkraut culture, for instance, might contain 20-30 different beneficial microorganisms, while a packet typically contains 2-5 isolated strains. Your ferments also become uniquely adapted to your kitchen's microclimate over time.
The practical advantages extend beyond flavor. Wild starters reproduce themselves—your vegetable ferments provide brine for the next batch, sourdough starter feeds itself indefinitely, and milk kefir grains multiply. One successful wild capture can supply your fermentation needs for years.
Capturing Vegetable Fermentation Cultures
Salt concentration determines which microorganisms thrive in vegetable ferments. A 2-3% salt solution by weight (2-3 tablespoons per 2.2 pounds of vegetables) creates the perfect environment for Lactobacillus bacteria while inhibiting harmful pathogens.
Start with cabbage-based ferments since cabbage naturally harbors robust Lactobacillus populations on its leaves. Shred one medium cabbage, toss with 1 tablespoon sea salt, and pack into a clean jar. The salt draws out moisture, creating brine within hours. Keep vegetables submerged below this brine using → Shop fermentation weights on Amazon or a clean stone.
Room temperature fermentation (68-72°F) produces the most active cultures. Expect visible bubbling within 24-48 hours as wild yeasts and bacteria multiply. Taste daily—tanginess develops as beneficial acids form, typically reaching optimal flavor in 3-7 days for your first batch.
Save 2-3 tablespoons of finished brine as starter for subsequent ferments. This established culture reduces fermentation time to 2-4 days and ensures consistent results. Store starter brine in the refrigerator for up to 6 months, though it stays most active when used within 2-3 weeks.
Expand beyond cabbage once your starter culture establishes. Carrots, radishes, turnips, and green beans all ferment successfully with your saved brine. Add 1-2 tablespoons of established brine to fresh salt-massaged vegetables for predictable fermentation.
Creating Dairy and Grain Starters From Scratch
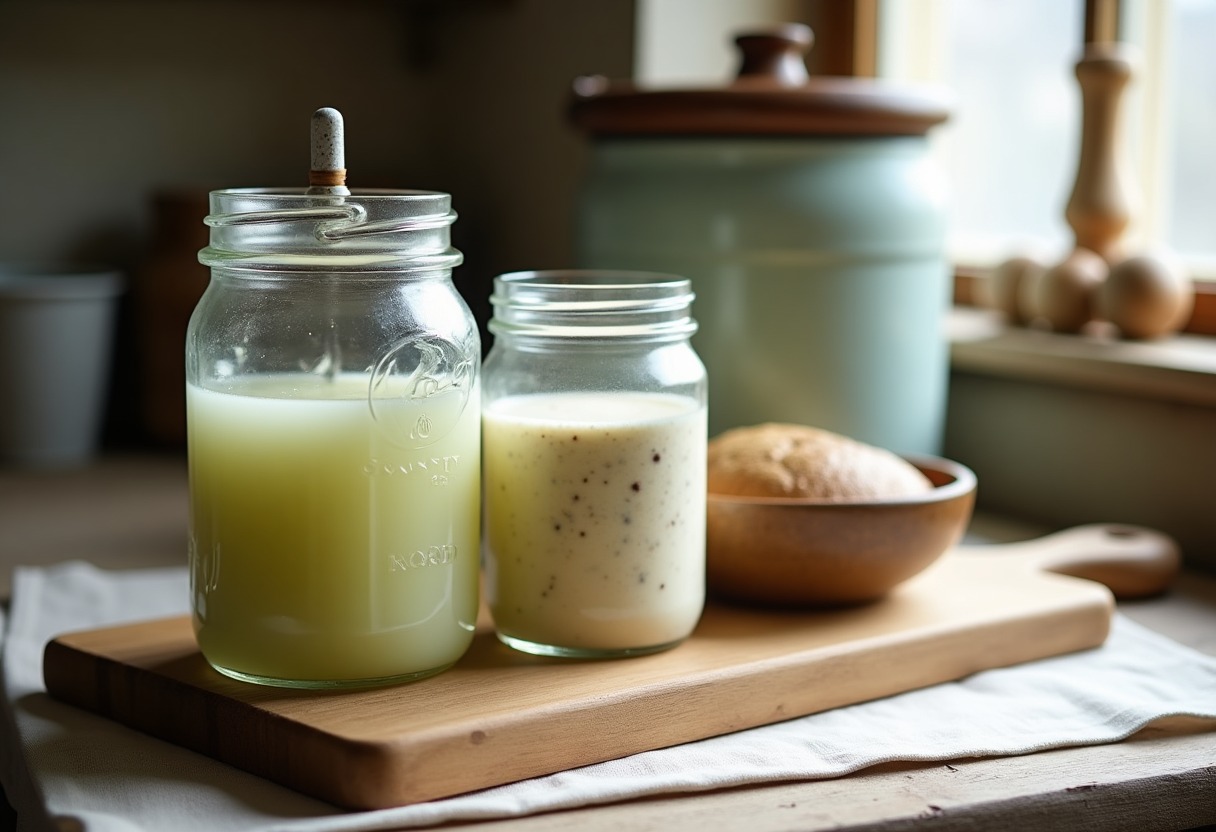
Dairy cultures develop through controlled fermentation of milk's natural lactose. For fresh cheese cultures, leave raw milk (if available) or pasteurized whole milk at room temperature for 12-24 hours until it naturally sours and thickens. This creates a basic cultured buttermilk that serves as starter for soft cheeses, cultured butter, or additional buttermilk batches.
Sourdough starter requires only flour and water but develops complexity over weeks of regular feeding. Mix equal parts (by weight) whole wheat or rye flour with filtered water in a clean jar. Stir daily and discard half every 3-4 days, replacing with fresh flour and water. Expect little activity for 3-5 days, then increasing bubbling and sour aroma as wild yeasts establish.
The flour type impacts starter development significantly. Whole grain flours contain more wild yeasts and bacteria on the bran, creating faster establishment. Rye flour produces particularly active starters due to its enzyme content and diverse microorganism population.
Water quality affects all culture development. Chlorinated tap water inhibits beneficial microorganisms—use filtered water or let tap water sit uncovered overnight to dissipate chlorine. Consistent temperature (70-75°F) speeds establishment, though starters adapt to cooler conditions once mature.
Starter Type Comparison and Timeline
| Starter Type | Initial Setup Time | Active Culture Timeline | Maintenance Required | Batch Size | |--------------|-------------------|------------------------|---------------------|------------| | Vegetable Brine | 15 minutes | 3-7 days first batch, 2-4 days subsequent | Save 2-3 tbsp brine per batch | 1-4 cups vegetables | | Sourdough | 5 minutes | 7-14 days to establish, 12-24 hours per bake | Daily feeding or weekly if refrigerated | 1 cup starter yields 2-3 loaves | | Cultured Dairy | 2 minutes | 12-24 hours to culture, immediate use | Fresh milk for each batch | 1 cup to 1 quart | | Water Kefir | 10 minutes | 24-48 hours per batch | Feed grains with sugar water | 1-4 cups finished kefir |
Essential Fermentation Supplies for Beginners
Quality containers make the difference between successful ferments and disappointing failures. Wide-mouth mason jars work perfectly for vegetable ferments, providing easy access for packing and monitoring. → Shop fermentation lids on Amazon that create one-way air valves prevent contamination while allowing gases to escape during active fermentation.
Salt quality impacts flavor and fermentation speed significantly. Sea salt or mined salt without anti-caking agents provides essential minerals that support beneficial bacteria. Table salt with iodine or anti-caking compounds can slow fermentation and create off-flavors. → Shop fermentation salt on Amazon specifically labeled for culturing applications.
Temperature control becomes crucial for consistent results. A simple thermometer helps monitor fermentation environments, while → Shop fermentation crock on Amazon provides traditional water-sealed fermentation for larger batches.
Digital scales ensure accurate salt ratios for food safety. Measuring salt by weight rather than volume accounts for different crystal sizes and prevents over-salting that kills beneficial bacteria. Most successful fermenters consider a kitchen scale essential equipment.
For those starting with purchased cultures, → Shop culture starter packets on Amazon provide reliable backup options while building wild culture skills. These work especially well for specific dairy projects like yogurt or kefir before transitioning to self-perpetuating cultures.
Advanced Wild Capture Techniques Most Guides Skip
Environmental timing significantly impacts wild culture capture success. Spring and fall provide the most diverse microorganism populations as temperature fluctuations activate dormant species. Summer heat can overwhelm delicate cultures with aggressive yeasts, while winter's cold slows establishment considerably.
Ingredient sourcing affects culture diversity and strength. Farmers market produce carries more varied surface microorganisms than supermarket vegetables treated with antimicrobial washes. Organic produce generally harbors more diverse bacterial populations, though conventionally grown items still ferment successfully when properly handled.
pH testing provides early warning for fermentation problems. Successful vegetable ferments reach pH 4.6 or lower within 3-4 days, creating the acidic environment that prevents harmful bacteria growth. Digital pH meters or test strips help verify safety, especially for beginners developing their sensory skills.
Cross-contamination between different fermentation projects can create interesting hybrid cultures. Many experienced fermenters maintain separate utensils and work areas for different projects, while others deliberately blend cultures to develop unique house strains. Document your methods to recreate successful combinations.
Seasonal variations in wild yeasts create opportunities for capturing specific flavor profiles. Grape harvest season provides wine yeasts perfect for fruity ferments, while spring tree budding releases yeasts ideal for floral-noted cultures. Capture these seasonal varieties by fermenting small test batches during peak times.
FAQ
How long do homemade fermentation starters last compared to commercial packets? Wild-captured starters often outlast commercial packets by years when properly maintained. Vegetable brine starters stay active for 6+ months refrigerated, while sourdough starters can live indefinitely with regular feeding. Commercial packets typically expire within 12-18 months and lose potency over time. The key advantage of wild starters lies in their self-perpetuating nature—each successful fermentation creates starter for the next batch, making them essentially renewable cultures.
Can I use regular table salt instead of sea salt for fermentation? Regular iodized table salt works for fermentation but may slow the process and create slightly different flavors. Iodine inhibits some beneficial bacteria, while anti-caking agents can interfere with proper brine formation. Sea salt or kosher salt without additives provides better mineral content for healthy bacterial growth. If table salt is your only option, use 25% more than recipes specify to account for reduced effectiveness, and expect fermentation to take 1-2 days longer than normal.
What temperature range produces the best wild fermentation cultures? Most beneficial fermentation bacteria thrive between 68-75°F, with 70-72°F being optimal for vegetable ferments and sourdough establishment. Temperatures above 80°F favor fast-growing yeasts that can create overly alcoholic or musty flavors, while temperatures below 60°F slow fermentation significantly. Consistent temperature matters more than perfect temperature—fluctuations stress cultures and can lead to off-flavors. If your kitchen runs cool, find a warm spot near (not on) appliances or use a seedling heat mat for consistent warmth.
How do I know if my wild fermentation starter has gone bad versus developing normally? Healthy ferments develop sour, tangy, or yeasty aromas and show consistent bubbling or fizzing activity. Warning signs include fuzzy mold growth (especially black, blue, or pink colors), rotten or putrid smells, slimy textures, or complete lack of activity after 5-7 days. White film on surface liquid (kahm yeast) looks alarming but usually indicates healthy fermentation, though it can create musty flavors if left too long. Trust your senses—ferments should smell appetizing even when sour, and any truly unpleasant odors indicate problems requiring disposal.
Can I ferment vegetables without salt using other natural methods? Salt-free fermentation requires alternative methods to create the acidic environment that prevents harmful bacteria. Wild lacto-fermentation relies on naturally occurring sugars, but carries higher contamination risk without salt's protective effects. Whey from cultured dairy can jump-start acid production, while established vegetable brine provides immediate protective cultures. Honey or fruit additions feed beneficial bacteria but also feed potential pathogens. Salt remains the safest, most reliable method for beginners—even small amounts (1% by weight) provide significant protection while maintaining vegetable texture and flavor development.
Natural fermentation transforms simple ingredients into complex, probiotic-rich foods while teaching you to work with the beneficial microorganisms already present in your kitchen environment.
Some links on this page are affiliate links. We may earn a small commission if you purchase through them, at no extra cost to you.
As an Amazon Associate we earn from qualifying purchases. This article contains affiliate links; if you buy through them we may earn a small commission at no additional cost to you.