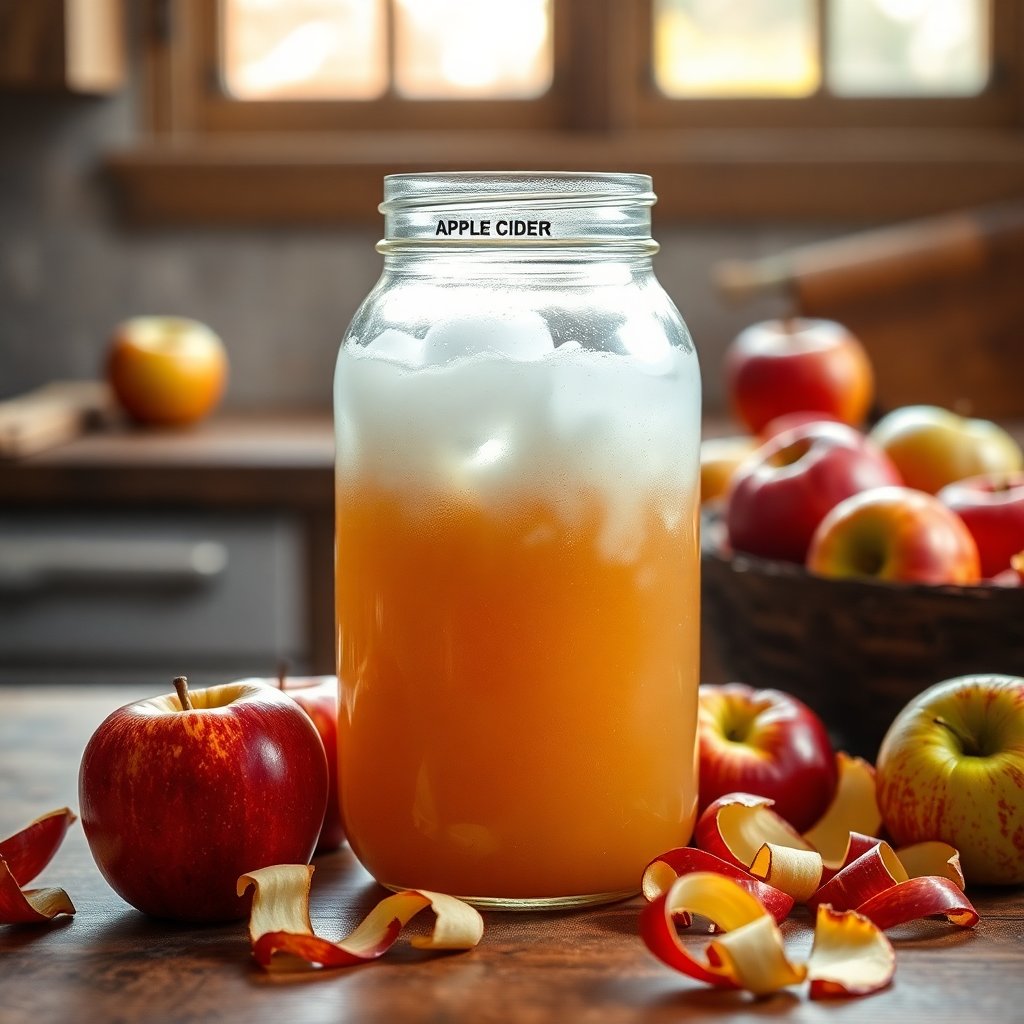
Fall is apple season, and apple season means scraps. Every batch of dehydrator rings, every jar of fresh-pressed juice, every afternoon of snacking leaves behind a pile of peels and cores that most kitchens throw straight into the compost. Those scraps are the exact raw material for one of the most useful things a whole-food pantry can produce on its own: raw, unfiltered apple cider vinegar, cloudy with the living mother, made with nothing but fruit, water, and time.
This is a slow project, not a weekend one. But it is almost entirely hands-off, it needs no heat, and it costs close to nothing because the main ingredient is what you were about to discard. Here is how to do it well, how to keep it safe, and how to know when the jar on your counter has actually become vinegar.
Why Scrap Vinegar Is Worth Making
Commercial vinegar is cheap, so the reason to make your own is not really the money. It is control and quality. Store-bought vinegar is usually filtered and pasteurized, which strips out the mother — the tangled, cloudy web of beneficial bacteria and enzymes that raw vinegar carries. The raw, unfiltered versions that keep the mother, like Bragg or Mother Earth, cost several times more than the filtered stuff, and even those are made at industrial scale from pressed juice.
Making it from scraps gives you a genuinely raw product from apples you chose, with no heat step to kill the culture, and a flavor that reflects your specific fruit. Butter-sweet heirloom apples make a rounder vinegar than tart supermarket varieties. It is also a satisfying closed loop for a raw kitchen: the same apples feed you, and their leftovers become a pantry staple.
As with any fermentation, this is a food project rather than a medicine. Raw vinegar is a wonderful ingredient, but claims about it curing anything should be treated skeptically. This is not medical advice — talk to your doctor before using vinegar to manage any health condition.
The Two-Stage Fermentation Behind Every Vinegar
Understanding what is actually happening keeps you from panicking halfway through. Vinegar is made in two stages, and your scrap jar runs both back to back.
Stage one is alcoholic fermentation. Wild yeast, some of it living on the apple skins themselves, eats the sugar in the fruit and the added sweetener and turns it into alcohol. This is the bubbly, cider-smelling phase, and it usually runs for one to two weeks.
Stage two is acetic fermentation. A group of bacteria called acetobacter, which drift in from the air, then convert that alcohol into acetic acid — the sour compound that makes vinegar vinegar. This slower phase is where the mother forms as a pale, gelatinous film on the surface, and it can take another two to four weeks or longer.
You do not have to manage these stages separately. You set up the jar once, and the fruit, yeast, and bacteria hand the batch off to each other on their own schedule. If you want the microbiology in more depth, this food-chemistry reference on acetic acid fermentation walks through exactly how the yeast and acetobacter hand off to each other.
What You Need
The gear list is short, and most of it doubles for other whole-food projects like sprouting or kraut.
- A wide-mouth glass jar, roughly half-gallon. Glass is the right call here because vinegar is acidic and will slowly corrode metal and leach from some plastics. A wide mouth makes it easy to add scraps and later strain. If you are stocking up on fermentation-grade jars anyway, the same ones work across projects — see my notes in the best sprouting jars and lids guide. → Shop wide-mouth glass fermentation jars on Amazon
- A breathable cover. A square of tight-weave cloth or a paper coffee filter, held on with a rubber band, keeps fruit flies out while letting the culture breathe. A solid lid will trap gas and can build pressure, so avoid sealing it. → Shop cheesecloth and jar covers on Amazon
- A small kitchen scale for getting the sugar ratio right, plus a fine-mesh strainer for the end. → Shop fine-mesh strainers on Amazon
- Apple scraps — peels, cores, and trimmings from organic apples if you can get them, since the wild yeast lives on the skin and you do not want wax or spray residue in the ferment.
- Filtered, non-chlorinated water and a spoonful of raw sugar or another simple sweetener. Chlorine can slow the culture, so let tap water sit out overnight or use filtered.
Step by Step
Fill the jar with scraps. Pack it about two-thirds full with peels and cores. If you are short on scraps, roughly chop whole apples and use those. More surface area means more wild yeast in play.
Mix the sugar water. Dissolve about one tablespoon of sugar into each cup of water, then pour it over the scraps until they are fully submerged. The sugar is food for the yeast, not for you — most of it gets eaten during fermentation. If you want to understand the different sweeteners you might reach for, the natural sweeteners guide breaks down how they behave.
Weigh the scraps down. Anything floating above the waterline can grow mold, so keep everything submerged. A small food-safe fermentation weight or a clean, smaller jar set inside works. This is the single most important step for a clean batch.
Cover and wait. Put the cloth cover on and set the jar somewhere warm, dark, and out of direct sun — a pantry shelf or a cupboard around 60 to 80°F is ideal. Stir it once a day for the first week to keep the scraps wet and discourage surface mold.
Strain after one to two weeks. Once the liquid smells fermented and lightly boozy and the bubbling slows, strain out the apple solids and compost them. Return the liquid to the clean jar, re-cover, and let it ride.
Let it sour. Now the acetobacter take over. Over the next two to four weeks the smell shifts from cider toward sharp vinegar, and a thin, cloudy film — the mother — forms on top. Taste a spoonful weekly. When it is pleasantly sharp and no longer sweet, it is done.
How to Know It Worked, and When Something Is Wrong
A healthy batch smells clean and sour, looks cloudy, and may grow a pale, rubbery disc on the surface. That disc is the mother, and it is a good sign, not a problem. You can leave it, or lift it out to start your next batch faster.
Trust your senses on safety. Vinegar fermentation is fairly forgiving because the environment turns acidic quickly, which suppresses harmful microbes, but a few things mean you should discard the batch: fuzzy mold in green, black, or pink, especially anything raised and fuzzy rather than the smooth mother film; a rotten or genuinely foul smell rather than a sour one; or a slimy pink or orange growth. When in doubt, throw it out and start again — the ingredients cost almost nothing.
A thin whitish film on the surface is usually kahm yeast, which is harmless if slightly funky-smelling. You can skim it off and continue. The clearest sign of success is simple: taste it. Real vinegar is unmistakably sour, and once it tastes right, it is right.
Storing and Using Your Vinegar
Once the batch tastes fully sour, strain it one more time through fine mesh or cloth if you want it clear, then bottle it. Because it is raw and unpasteurized, the culture stays slightly alive, so store it in a cool, dark cupboard with a loose or breathable cap rather than a tight seal. It keeps for many months and only mellows with age. A new mother may form in the bottle over time, which is normal and fine to keep or strain out.
The vinegar itself is endlessly useful in a raw kitchen: whisked into dressings, splashed over massaged kale, stirred into a glass of water, or used to quick-pickle thin-sliced vegetables. It also pairs naturally with the rest of a fermenting pantry — if you are building that out, the fermentation starters guide covers krauts, brines, and cultures that live alongside a jar of scrap vinegar. And since this whole project starts with using up seasonal fruit, it fits neatly with the broader habit of storing the fall harvest so nothing good goes to waste.
A Realistic Timeline
Plan on three to six weeks from scraps to finished vinegar, most of it passive. Warmer rooms speed it up; cooler ones slow it down. The first batch always feels like a leap of faith because you are waiting on invisible microbes, but once you have made one, you will trust the process — and you will have a living mother ready to jump-start every batch after.
Affiliate disclosure: some links above are Amazon affiliate links, and purchases made through them may earn this site a small commission at no extra cost to you. That support helps keep these guides free.
As an Amazon Associate we earn from qualifying purchases. This article contains affiliate links; if you buy through them we may earn a small commission at no additional cost to you.