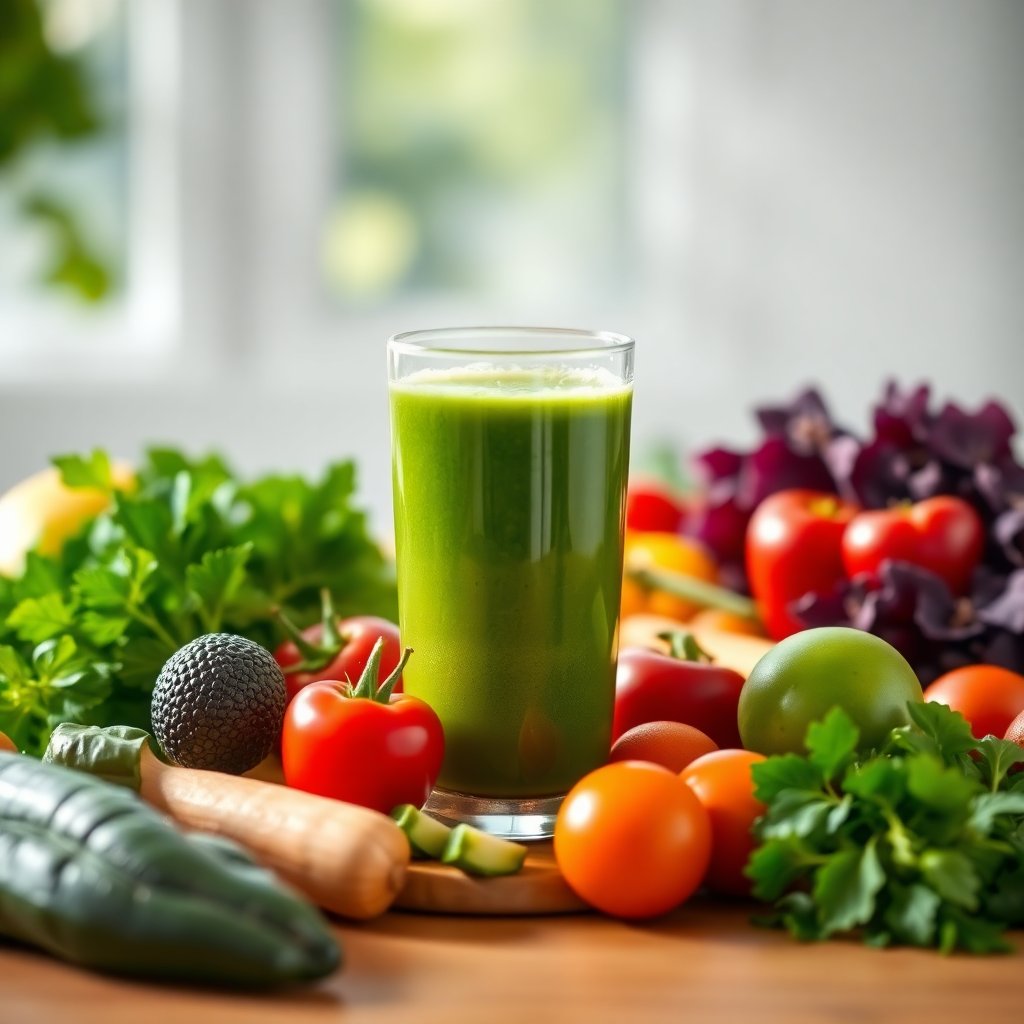
Fall is the one season when good whole food arrives faster than any household can eat it. From mid-August through October, apples, winter squash, potatoes, carrots, onions, and cabbage all come off the farms at once, prices per pound drop, and quality peaks — which is exactly when a box of gorgeous produce turns into a race against spoilage. The old answer was a root cellar. The good news for the rest of us is that you do not need one. With nothing more than the cool corners of an ordinary home and a few cheap tools, you can keep most of the fall harvest crisp and raw for weeks to months, no canning or freezing required.
This guide is about keeping produce whole and living — the way a raw or whole-food kitchen wants it — rather than processing it into something else. Match each crop to the temperature and humidity it wants, and the harvest does most of the work itself.
The Two Numbers That Decide Everything: Temperature and Humidity
Every storage crop is really asking for just two things: a target temperature and a target humidity. Get those roughly right and the food keeps. Get them wrong and it either shrivels or rots.
Most storage crops fall into a handful of groups:
- Cold and moist (around 32 to 40°F, high humidity): apples, carrots, beets, cabbage, potatoes. These want it close to refrigerator-cold and damp so they do not dry out.
- Cool and dry (around 50 to 60°F, low humidity): winter squash, pumpkins, onions, garlic, shallots. These rot if kept cold and damp — they want a dry pantry or closet.
- Warm and dry (around 55 to 60°F): sweet potatoes are the odd one out, preferring warmer, drier air than regular potatoes.
The University of Minnesota Extension's guide to storing garden vegetables lays out these temperature and humidity ranges crop by crop and is worth bookmarking as a science-backed reference. Once you know which group a crop belongs to, finding the right spot in your home is mostly a matter of walking around with a cheap thermometer.
Speaking of which, the single most useful tool here is a simple thermometer with a humidity reading so you can actually find the cold, moderate, and dry zones in your house instead of guessing. A basic refrigerator and room thermometer with humidity costs little and turns "I think the garage is cold" into a number you can trust. As an Amazon Associate we earn from qualifying purchases, so a few links below point to the low-cost tools that make home storage work.
Finding Cold Storage in a House That Has No Cellar
You almost certainly already have storage zones — you just have not labeled them.
An unheated garage, mudroom, or enclosed porch often sits in the 35 to 45°F range through late fall and early winter, which is close to ideal for apples and root vegetables. Watch for hard freezes, though; most produce is ruined by freezing, so once nights drop below freezing you may need to move boxes against an interior wall or insulate them.
A basement stairwell, north-facing closet, or the floor of an unheated spare room tends to run cooler than the rest of the house and works well for the "cool and dry" crops like squash and onions.
The bottom of the refrigerator is your fallback for smaller quantities of the cold-and-moist crops. It is colder and dryer than ideal, but for a couple weeks' worth of carrots or apples it does the job — especially if you slow moisture loss with the right storage container. Our guide to natural food storage containers walks through the glass, stainless, and silicone options worth keeping produce in.
The trick is to stop thinking of your home as one temperature and start seeing it as a set of microclimates. A whole-food pantry in fall is really just produce sorted into the right corners.
Apples: The Easiest Big Win
Apples are the crop most worth storing, because a good keeper variety holds for months and eats beautifully raw the entire time. 2026 is shaping up to be a normal-to-good apple year, with varieties ripening on their usual schedule from mid-August onward.
Choose late-season keepers. Early apples like Zestar or Jerseymac are delicious but do not store — eat those now. For the pantry, reach for the long-storage varieties: Arkansas Black, Winesap, Northern Spy, Braeburn, Fuji, and Pink Lady all hold for months in cold, humid storage, some right through winter. Honeycrisp eats wonderfully raw but stores only moderately, so eat it earlier in the season.
Keep them cold, humid, and separated. Apples want that 32 to 40°F, high-humidity zone. The classic method is a single layer in a shallow box or wrapped individually in paper, because one bruised or rotting apple releases ethylene gas that ripens and spoils its neighbors — the origin of "one bad apple spoils the barrel." A monthly check to pull any softening fruit keeps the rest sound.
Keep apples away from your other produce. That same ethylene will prematurely age nearby potatoes, carrots, and greens, so store apples in their own box or a separate zone. If you want the science of what apples do to eat and store best across the season, Ask the Food Geek's apple reference is a thorough, plainly written breakdown of varieties and their uses.
Winter Squash and Pumpkins: Cure First, Then Forget Them
Winter squash — butternut, acorn, kabocha, spaghetti, and the like — is one of the great low-effort storage crops, but it wants the opposite conditions from apples: cool and dry, not cold and damp.
Cure them first. If you grow your own or buy from a farm, let uncut squash sit in a warm, dry spot (around 80°F for a week or two) to harden the skin. Store-bought squash is usually already cured. A tough, unblemished rind is what lets a butternut sit on a shelf for three months.
Then store cool and dry. A pantry shelf, closet floor, or cool spare room around 50 to 60°F is perfect. Keep squash off the cold floor and out of the fridge — refrigeration actually shortens their life. Set them in a single layer, not stacked, so air moves around each one, and skip anything with a soft spot or a broken stem, which invites rot.
Kept this way, a good butternut easily lasts into winter, giving a raw kitchen a steady supply of squash to spiralize, grate into salads, or blend.
Root Vegetables: Cold, Damp, and Packed to Hold Moisture
Carrots, beets, turnips, parsnips, and radishes are cold-and-moist crops, and their enemy is drying out. In storage they go limp not because they spoil but because they lose water.
Remove the greens first. Leafy tops pull moisture out of the root, so twist or cut them off before storing (the greens themselves are edible — use them within a day or two).
Pack them to hold humidity. The traditional root-cellar method recreates high humidity by layering roots in a box of barely-damp sand, sawdust, or shredded newspaper. For a home version, a perforated bag or a container with a slightly damp cloth in the coldest part of the fridge works well for a few weeks. A set of reusable produce storage bags that let a little air through while holding moisture is a small, plastic-light upgrade over the crisper drawer alone.
Potatoes and onions are the classic pantry pair — kept apart. Potatoes want cool, dark, and slightly humid (around 45 to 50°F, and never the fridge, where cold turns their starch to sugar). Onions and garlic want cool and dry with good airflow. Store them near each other and the onions' moisture sprouts the potatoes, so give each its own bin. A hanging mesh basket or a ventilated storage bin for onions and potatoes keeps air moving and light out, which is most of the battle.
What to Do With the Overflow
Even with good cold storage, a real harvest haul will outpace what keeps well raw. When you hit that point, the move is to preserve the surplus rather than let it turn. Low-temperature drying keeps produce closest to raw — apples become chewy rings, tomatoes become intense leather, and herbs keep their color far better than oven-drying allows, which is where a proper machine from our best food dehydrators for raw vegan kitchens guide earns its shelf space. If that is your next step, our roundup of the best seeds for sprouting pairs naturally with a preservation routine: one keeps fresh living food coming in on your counter while the harvest crops rest in storage, so the raw kitchen never runs dry between seasons.
Fermenting is another whole-food friendly route for the overflow — cabbage into kraut, roots into pickles — but that is a topic in its own right and worth a dedicated setup.
A Simple Fall Storage Plan
To pull it all together, here is how a whole-food kitchen can bank the harvest with almost no equipment:
- Walk your house with a thermometer and label a cold-and-moist zone (garage, porch), a cool-and-dry zone (closet, pantry), and note that the fridge is your small-batch cold fallback.
- Sort produce into its group. Apples and roots go cold and humid; squash, onions, and garlic go cool and dry; sweet potatoes go a touch warmer.
- Keep apples and onions away from everything else because of the moisture and ethylene they give off.
- Check monthly and pull anything softening before it spreads.
- Preserve the overflow by low-temperature drying or fermenting once fresh storage is full.
None of this requires a cellar, a chest freezer, or a canning setup — just a little sorting and the right corners of an ordinary home. Do it once each fall and you turn a fleeting few weeks of peak-season produce into a raw, whole-food pantry that carries you toward winter.
The Bottom Line
The fall harvest is a gift with a short window, and the whole art of storing it raw comes down to two numbers per crop: temperature and humidity. Cold and moist for apples and roots, cool and dry for squash and alliums, and keep the ethylene-heavy fruit off on its own. Add a cheap thermometer, a few breathable bags or ventilated bins, and a monthly check, and most of autumn's bounty will keep for weeks to months with its nutrition and crunch intact. Confirm the exact ranges for any specific crop against a reliable extension guide before you commit a big batch — but the principles here hold every year, and they turn a glut you would otherwise lose into food you actually get to eat.
As an Amazon Associate we earn from qualifying purchases. This article contains affiliate links; if you buy through them we may earn a small commission at no additional cost to you.