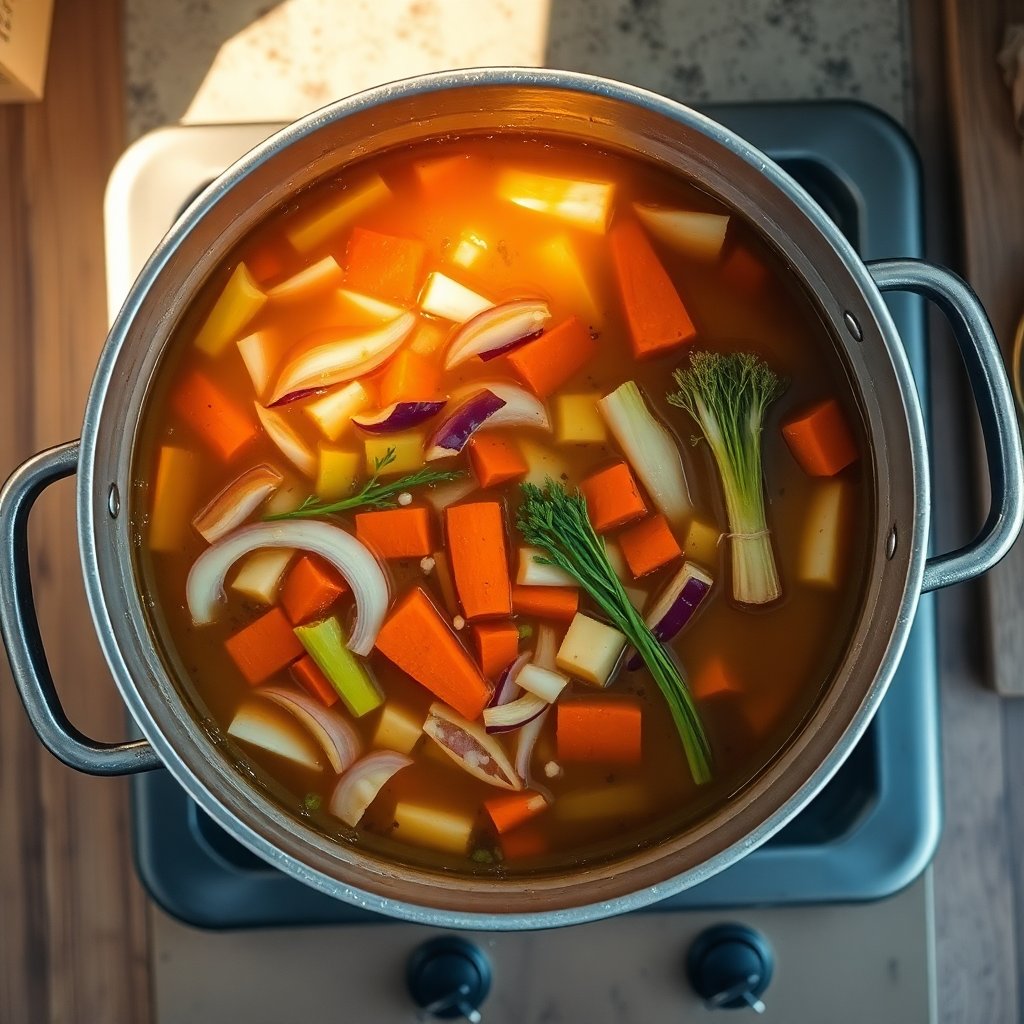
Soup season arrives the same week the farmers market starts selling squash, and almost every pot of it begins with stock. You can buy cartons of it, but the best-tasting, cheapest version comes from the exact trimmings most kitchens throw away. The papery onion skins, the woody ends of celery, the carrot peels, the mushroom stems, the bare corn cobs after the kernels come off — all of it carries real flavor that ends up in the compost instead of in your bowl.
Scrap stock is the most forgiving from-scratch project in a whole-food kitchen. There is no recipe to follow exactly, no fermentation to monitor, and no way to really ruin it as long as you avoid a short list of ingredients. You collect trimmings in the freezer over a week or two, simmer them in water for an afternoon, strain, and freeze the result. Here is how to do it so the broth tastes clean and golden rather than muddy and bitter, and how to store it so there is always some within reach.
Why Scrap Stock Beats the Carton
The money argument is the obvious one. A good carton of low-sodium vegetable broth is not cheap, and you go through it fast once the weather turns. Scrap stock costs essentially nothing because the main ingredient is what you were about to discard, plus water and a little time on a back burner.
The better argument is flavor and control. Most boxed broth leans heavily on salt and yeast extract to taste like anything at all, and many are surprisingly thin once you cook with them. When you build stock from real trimmings, you decide what goes in. More onion and mushroom for depth, more carrot and corn cob for sweetness, more herb stems for brightness. You also control the sodium completely, which matters if you are watching salt or cooking for someone who is. Nothing goes in that you did not put there.
It is also the cleanest possible closed loop for a kitchen that already tries to waste little. The same vegetables feed you twice: once as the meal, and again as the backbone of the next one. If you are already in the habit of putting up the season's produce, scrap stock fits right alongside it — the trimmings from everything you preserve become the broth that carries you through winter.
Which Scraps to Save
Almost any trimming from a firm, savory vegetable is fair game. The easiest way to build a stash is to keep a bag or container in the freezer and add to it as you cook. When it is full, you have a batch.
The reliable backbone. These give almost any stock its body and should make up the bulk of your bag:
- Onion — skins, ends, and the dry papery layers. Onion skins also lend a warm golden color.
- Carrot — peels, tops, and the woody stem ends.
- Celery — the leafy tops and the tough bottom ends.
- Garlic — skins and the trimmed-off root ends.
Flavor boosters. Add these whenever you have them for more depth:
- Mushroom stems and trimmings, which bring a deep savory note that makes vegetable stock taste like more than vegetables.
- Corn cobs stripped of their kernels, which release a surprising sweetness.
- Leek tops and the dark green parts most recipes tell you to discard.
- Herb stems from parsley, thyme, and cilantro.
- Tomato trimmings and the cores, used in moderation for a little acidity.
- Fennel fronds and stalk ends.
- Scallion roots and tops.
- Parmesan rinds, if you keep dairy, which melt into a rich umami broth.
Rinse everything well before it goes in the freezer bag, since skins and roots carry grit. A quick scrub under running water is enough.
What to Leave Out
Knowing what to skip is more important than knowing what to add, because a few ingredients can quietly wreck an entire pot.
Brassicas turn a stock sulfurous. Broccoli, cauliflower, cabbage, kale stems, and Brussels sprout trimmings all release strong sulfur compounds when simmered a long time, and they will make the broth smell and taste cabbagey. Keep them out, or use only a very small amount.
Beet skins stain everything a deep magenta, which is fine if you want it but a surprise if you do not.
Starchy scraps cloud the broth. Potato peels and other starchy trimmings make stock murky and can turn it gluey. Save those for other uses.
Anything spoiled stays out. The freezer-bag method tempts you to toss in trimmings that are a little past their prime, but stock is not a way to rescue moldy or slimy vegetables. Only save scraps you would still have been willing to cook with. Bitter greens, extremely woody stems, and anything with mold all belong in the compost, not the pot.
The Gear That Makes It Easy
You do not need much, and you likely own most of it. A few pieces make the process smoother, especially when you start making stock often.
The one thing worth having is a large, heavy stockpot — roughly eight quarts or bigger — so you can fit a full scrap bag plus enough water to cover it. A heavy bottom keeps the simmer gentle and even, which is exactly what clear stock wants. → Shop large stockpots on Amazon
For straining, a fine-mesh strainer gives you a clean broth without any floating bits. A larger colander lined with the strainer, or a dedicated chinois, makes pouring off a full pot far less messy. → Shop fine-mesh strainers on Amazon
To freeze stock in usable portions, silicone freezer trays are the single most useful upgrade. Freezing broth in one-cup or half-cup blocks means you can drop exactly what a recipe needs straight into the pan without thawing a giant container. → Shop silicone freezer trays on Amazon
You will also want something to collect scraps in the freezer before you cook. A reusable silicone bag or a lidded container works, and the same vessels earn their keep across the whole kitchen. If you are rethinking how you store food in general, my natural food storage containers guide covers the glass, silicone, and stainless options I actually reach for. → Shop reusable silicone freezer bags on Amazon
How to Make It, Step by Step
Once your scrap bag is full — usually three or four quarts of trimmings — you are ready to cook.
Fill the pot. Tip the frozen scraps straight into your stockpot. No need to thaw them first. Add a couple of bay leaves and a few whole peppercorns if you have them. A short handful of whole, assertive spices is the one place I reach into the spice drawer for this; if yours needs restocking, the whole-spice pantry guide covers what is worth keeping on hand.
Cover with cold water. Add enough cold water to cover the scraps by about an inch. Too much water gives you a weak, watery broth, so keep it close to the vegetables rather than drowning them.
Bring it up slowly, then back off. Heat the pot until the surface just barely breaks into small bubbles, then turn it down to a bare simmer. A hard, rolling boil is the main cause of cloudy, muddy-tasting stock — it churns the fine particles back into the liquid and can turn delicate flavors harsh. Keep it at a lazy simmer the whole time.
Simmer for about an hour. Vegetable stock gives up its flavor quickly, unlike bone broth. Thirty minutes gets you a light broth; about an hour hits the sweet spot; much past ninety minutes and the flavors flatten out and can turn slightly bitter, especially if there are a lot of green trimmings. Taste as you go and stop when it tastes good to you.
Hold the salt. Leave stock unsalted or only lightly salted. You will almost always reduce it further or season the final dish, and an unsalted base keeps your options open.
Strain thoroughly. Set your fine-mesh strainer over a large bowl and pour the stock through, then press gently on the solids with the back of a ladle to squeeze out the last of the liquid. Let it cool before pressing hard so you do not force cloudiness through. Compost the spent scraps — they have given everything they had.
Storing and Freezing Your Stock
Let the strained stock cool to room temperature before it goes anywhere cold. Sliding a pot of hot broth straight into the fridge warms everything around it and makes for slow, uneven cooling. To speed things up safely, set the bowl in a sink of ice water and stir.
In the refrigerator, homemade vegetable stock keeps for about three to four days in a sealed container. For anything longer, freeze it. Government food-safety guidance on cold food storage times is a good reference for how long broths and soups stay safe refrigerated versus frozen, and it is worth a bookmark for the whole-food kitchen generally.
Freezing is where scrap stock really pays off. Pour the cooled broth into silicone trays, freeze until solid, then pop the blocks into a labeled bag so the trays are free for the next batch. Blocks thaw fast and let you add precise amounts to a pan. For larger needs, freeze a few pint containers too, leaving an inch of headspace at the top because liquid expands as it freezes. Label everything with the date. Frozen stock keeps its best flavor for around four to six months, though it stays safe longer.
If you find yourself making stock constantly through the cold months, it folds naturally into the same rhythm as the rest of your pantry work. The habit of storing the fall harvest well means you are generating a steady stream of good trimmings, and a freezer drawer of stock blocks becomes the quiet backbone of soups, grain pots, braises, and sauces all winter.
A Few Ways to Use It Beyond Soup
Stock is not only for soup, and treating it as an everyday ingredient is what makes the effort worth repeating. Cook rice, farro, or any grain in it instead of water for an immediate flavor upgrade. Use it to deglaze a pan after roasting vegetables, loosening all the browned bits into an instant sauce. Steam-braise hearty greens or beans in a shallow pool of it. Thin a thick sauce, moisten a grain bowl, or simmer down a splash into a quick pan gravy. Once there is always some in the freezer, you reach for it the way you used to reach for the carton — except this one cost nothing and tastes like the vegetables you actually chose.
Scrap stock rewards the long game. The first batch feels like a novelty, but after a month of saving trimmings and simmering them down, it stops being a project and becomes a reflex. You stop buying broth, you waste noticeably less, and every pot of soup starts from something you made yourself out of what used to be garbage.
Affiliate disclosure: some links above are Amazon affiliate links, and purchases made through them may earn this site a small commission at no extra cost to you. That support helps keep these guides free.
As an Amazon Associate we earn from qualifying purchases. This article contains affiliate links; if you buy through them we may earn a small commission at no additional cost to you.