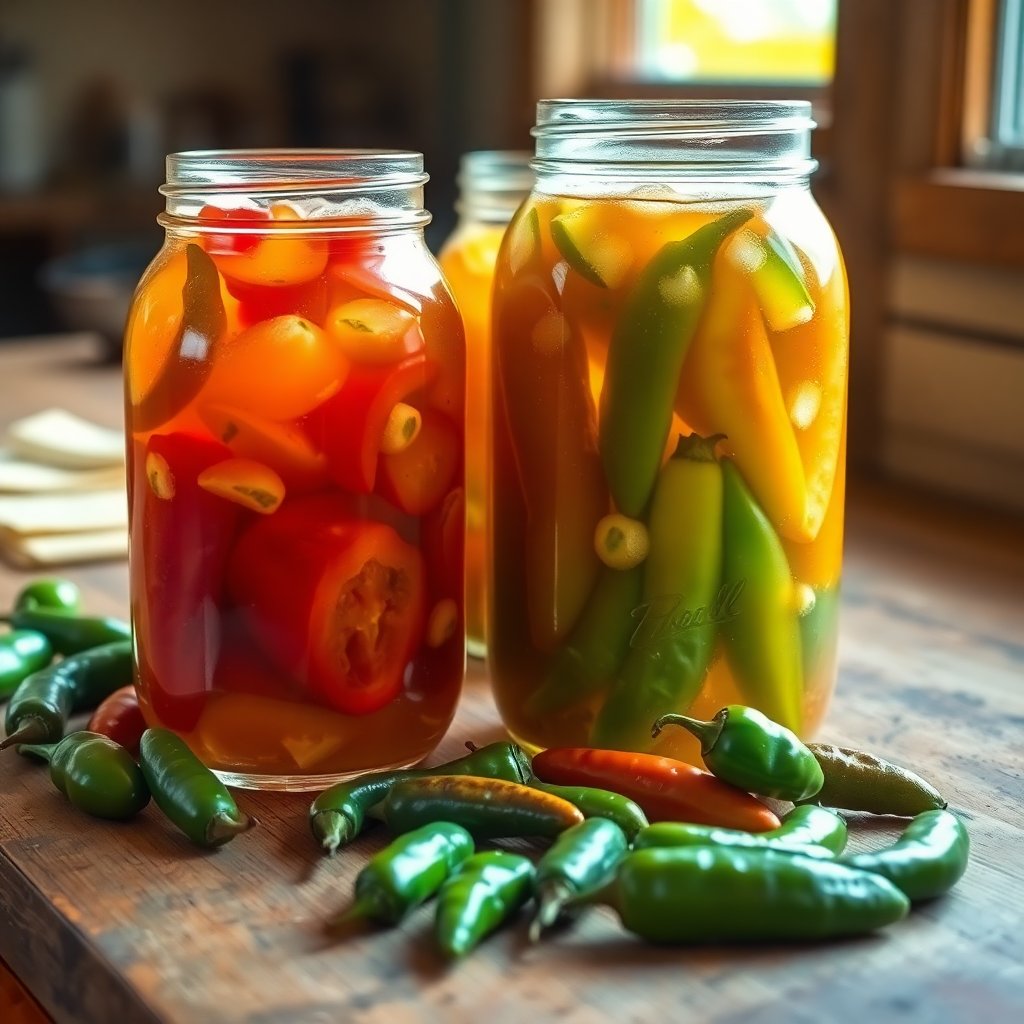
Every pepper plant seems to hold back until the first cool nights of fall, then hand over its entire crop at once. A single row of jalapeños, cayennes, or Fresnos can dump more fruit in two weeks than any kitchen can use fresh, and the farmers market tables sag under end-of-season peppers sold by the heaping bag. That glut is the perfect raw material for one of the most rewarding whole-food projects going: raw, lacto-fermented hot sauce, alive with cultures and layered with a sour depth that no cooked, vinegar-based bottle can match.
This is a no-cook project. The peppers never see heat, so the natural enzymes, color, and living lactic-acid bacteria all survive into the finished sauce. You need salt, water, a jar, and a few weeks of patience. Here is how to do it well, how to keep it safe, and how to turn a countertop ferment into a sauce you will reach for all winter.
Why Ferment Peppers Instead of Just Blending Them
Blending fresh peppers with vinegar gives you a sharp, one-note hot sauce. Fermenting them first changes the whole character of the sauce. Wild Lactobacillus bacteria, which already live on the skin of every pepper you pick, feed on the fruit's natural sugars and convert them into lactic acid. That acid is what preserves the sauce, but it also builds flavor: a rounded, savory, faintly funky sourness with none of the harsh bite of raw vinegar.
The result is closer to how the well-known aged pepper sauces are actually made, minus the years in a barrel. You get complexity in weeks, a raw and unpasteurized product that keeps its living cultures, and a flavor that reflects your specific peppers. A ferment built from smoky ripe jalapeños tastes nothing like one from grassy green cayennes, and that is the whole point of making it yourself.
As with any fermentation, treat this as a food project, not a remedy. Raw fermented foods are a genuinely useful addition to a whole-food pantry, but claims that they cure anything should be met with skepticism. This is not medical advice — talk to your doctor before using fermented foods to manage any health condition.
The Salt-and-Brine Science That Keeps It Safe
Understanding the mechanism keeps you calm through the cloudy, bubbly middle stage. Lacto-fermentation works because salt and acid, in sequence, make the jar hostile to anything that could hurt you.
Salt does the first job. A brine in the right range slows spoilage microbes while the salt-tolerant Lactobacillus gets going. Extension food-science guidance puts the working window for fermented vegetables at roughly 2 to 5 percent salt by weight; the Virginia Cooperative Extension guide to vegetable fermentation notes ideal sauerkraut concentrations around 2.25 to 2.5 percent, and pickle brines running higher. For hot sauce, a brine near 3 to 5 percent salt is a reliable, forgiving target.
Acid finishes the job. As the bacteria produce lactic acid, the pH of the ferment falls fast. Within the first few days it drops below the 4.6 threshold that food-safety authorities treat as the line under which Clostridium botulinum and other pathogens cannot grow, and a healthy pepper ferment usually settles well under pH 4.0. The two safeguards work together: enough salt, kept under an anaerobic brine, so the acid can build before anything else takes hold. Skimp on salt or let peppers bob up into the air, and you lose that protection — which is why the steps below are worth following closely.
What You Need
The gear list is short and doubles for kraut, pickles, and other projects. If you are already set up for fermenting, you may only need peppers.
- A wide-mouth glass jar with an airlock or a fermentation lid. Glass will not react with the acidic brine, and an airlock lets carbon-dioxide escape while keeping oxygen out, which is the single easiest way to prevent surface mold. A plain jar with a loosely set lid burped daily also works. → Shop mason jar fermentation kits with airlocks on Amazon
- Fermentation weights to hold the peppers under the brine. Anything floating above the waterline can grow mold, so keeping the fruit submerged is the most important physical step. Glass or food-grade ceramic weights are ideal. → Shop glass fermentation weights on Amazon
- A small kitchen scale for weighing peppers, water, and salt so you can hit the salt percentage instead of guessing.
- pH test strips if you want to confirm the ferment has dropped into the safe, sour range before you bottle it. Not strictly required, but reassuring on your first batch. → Shop pH test strips for fermentation on Amazon
- Nitrile gloves. Hot peppers will leave capsaicin on your hands for hours; gloves save you from rubbing an eye later and regretting it. → Shop nitrile gloves for prepping peppers on Amazon
- Fresh peppers, ideally organic and unwaxed so the wild cultures on the skin are intact, plus non-chlorinated water and plain salt without anti-caking additives, which can cloud a brine.
A cutting board that will not stain or absorb pepper oils helps too — my notes on that are in the non-toxic cutting boards guide.
Step by Step
Weigh and prep the peppers. Wearing gloves, rinse the peppers, pull the stems, and roughly chop them. Leave the seeds in for more heat or scrape them out for a milder sauce. Toss in a few peeled garlic cloves or a slice of onion if you like; they ferment beautifully alongside the peppers.
Choose brine or mash. For a brine ferment, pack the chopped peppers into the jar and cover with salt water mixed at about 3 to 5 percent salt by weight. For a mash ferment, blend the peppers into a coarse pulp, weigh it, and stir in salt equal to roughly 3 percent of that weight. The brine method is the easier first project; a good blender makes the mash route quick if you would rather go that way, and the best raw vegan blenders guide covers models that handle tough skins.
Submerge everything. Set the weight on top so no pepper pokes above the liquid. Leave an inch or two of headspace because the ferment will bubble and rise in its first active days.
Seal and wait. Fit the airlock or set the lid on loosely, then keep the jar somewhere dark and steady between about 60 and 75°F. Cooler is slower and more forgiving; warmer is faster and can turn softer. Expect active bubbling within two to four days.
Ferment for one to three weeks. Taste with a clean spoon after week one. Short ferments stay bright and sharp; longer ones turn deeper, mellower, and more sour. When the flavor is where you want it and the bubbling has calmed, it is ready to blend.
Blend and bottle. Pour the peppers and some of their brine into a blender and purée to your preferred texture, adding brine to loosen it. Strain if you want a smooth, pourable sauce, or leave it rustic. Bottle and store cold.
How to Read Your Ferment, and When to Toss It
A healthy pepper ferment is cloudy, actively bubbly in its first week, and smells sharply sour and garlicky — pungent, but appetizing. Cloudy brine and a little sediment are normal and good.
A few things mean you stop and discard the batch. Fuzzy mold in green, black, blue, or pink, especially raised and fuzzy rather than a flat film, is a discard. So is a genuinely rotten, putrid smell as opposed to a sour, funky one, or any slimy pink or orange growth. When in doubt, throw it out; a bag of peppers is cheap insurance.
A thin, wrinkly white film on the surface is usually kahm yeast, which is harmless if unappetizing — skim it off, make sure everything is still submerged, and carry on. If you have pH strips, a reading at or below 4.0 confirms the ferment did its job. The clearest sign, though, is your own senses: a finished raw hot sauce is unmistakably sour, aromatic, and alive.
Storing and Using Raw Hot Sauce
Because the sauce is raw and unpasteurized, keep it in the refrigerator, where the cold slows the cultures to a crawl. Stored cold in a clean glass bottle, a fermented hot sauce keeps for many months and generally deepens with age. A little separation or continued slow fizz is normal; just shake before use and burp the bottle occasionally if it is tightly capped. For bottling and long-term pantry organization, the natural food storage containers guide covers non-reactive options that suit acidic ferments.
The sauce itself earns its place in a raw kitchen fast: splashed over massaged kale and avocado, whisked into dressings, stirred into a bowl of sprouts, or spooned onto anything that needs brightness and heat. It also fits naturally beside the rest of a living pantry — if you are building that out, the fermentation starters guide covers krauts, brines, and cultures that thrive on the same shelf as a jar of pepper sauce.
A Realistic Timeline
Plan on one to three weeks of fermenting plus a few minutes of prep and blending on each end. Nearly all of that time is hands-off, the peppers doing the work on your counter. The first batch always feels like a small leap of faith, because you are trusting invisible microbes and a jar of cloudy brine. Once you taste what comes out, though, you will start eyeing every late-season pepper bag as a future bottle of sauce — and turning a fall glut into something that lasts becomes second nature, right alongside the broader habit of storing the fall harvest so nothing good goes to waste.
Affiliate disclosure: some links above are Amazon affiliate links, and purchases made through them may earn this site a small commission at no extra cost to you. That support helps keep these guides free.
As an Amazon Associate we earn from qualifying purchases. This article contains affiliate links; if you buy through them we may earn a small commission at no additional cost to you.